
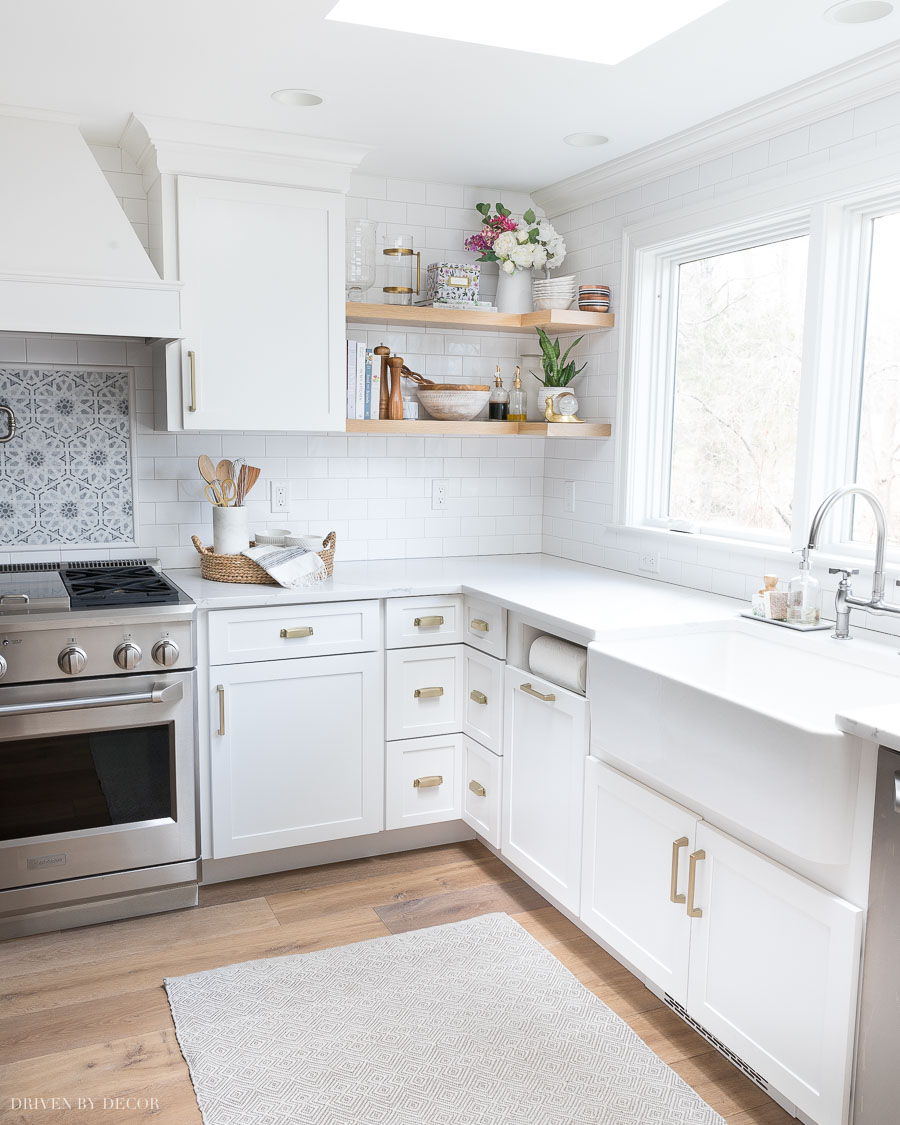
Our Floating Corner Shelves
Today I’m sharing all the details about the floating Corner shelves in our kitchen because I’ve gotten so many questions about them since the reveal of our kitchen remodel. When designing our kitchen, I had something very specific in mind for the open shelving and there was nothing pre-made that came close to it so my contractor (Reszoly Builders) and I tag teamed to DIY it!
My shelves ended up being one of my favorite things about our new space so I wanted to share the step by step how-to for those of you who would like to bring this look into your home too! And read on to the end of the post where I share a source for buying super similar floating shelves pre-made if you’d prefer not to DIY! (post includes affiliate links – full disclosure statement available {here})
 (See {this post} for all kitchen remodel sources)
First, here’s the step by step of how to create floating wood shelves if you want to DIY it…
Read More About: Wooden Shoe Rack in Pakistan
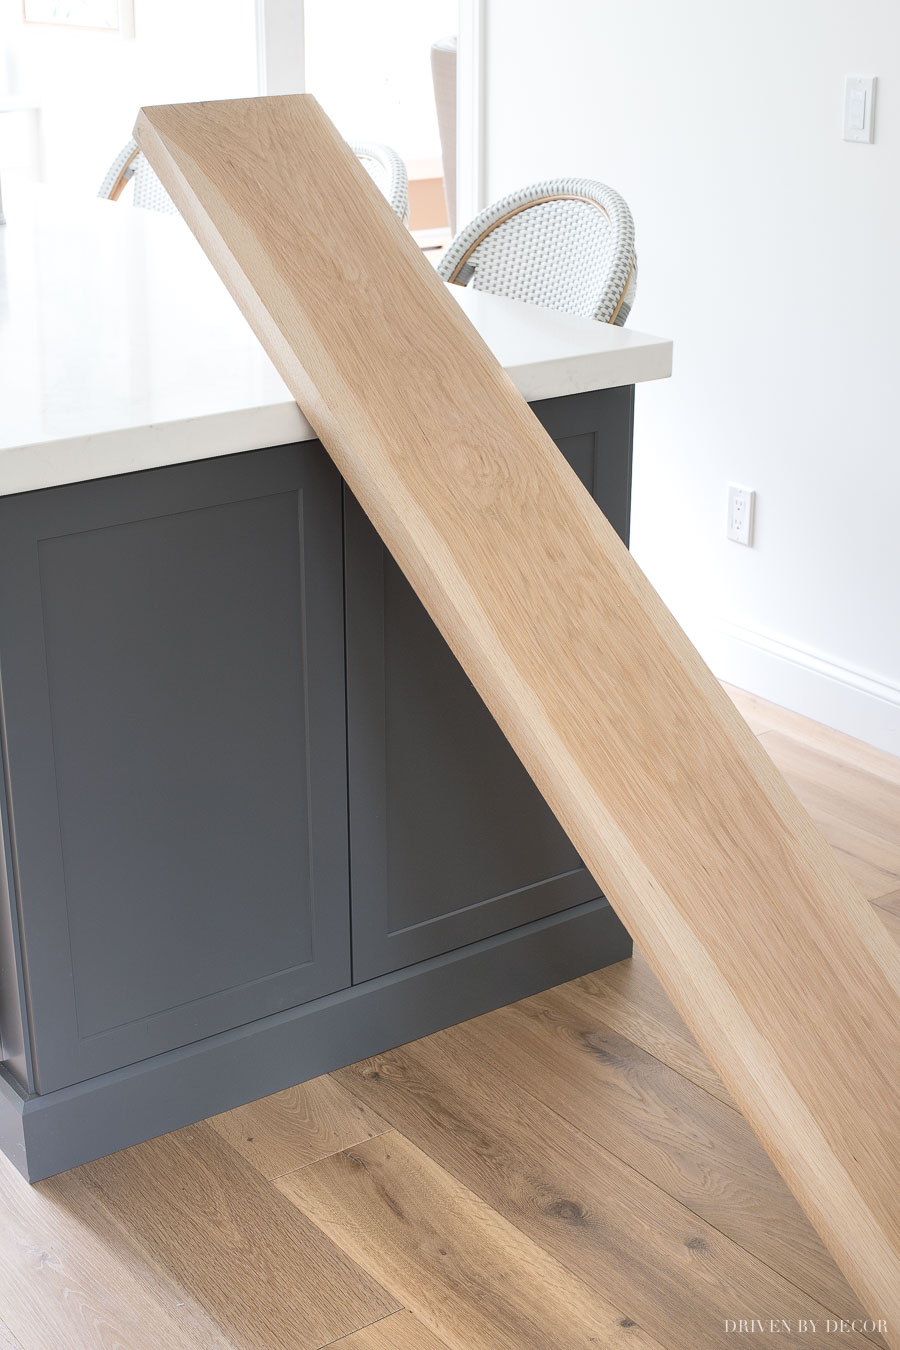
1. Source White Oak Boards
The first step was to find a local source for thick white oak boards, which most typical hardware stores don’t carry. The key is to look for a place that specializes in raw lumber products because not only will they carry the oak boards but they’ll typically also cut and plane them to the size you want. I ended up getting mine from Kellogg Hardwood Lumber in Bethel, CT – I bought two raw white oak boards that were both planed to be 1 ¾″ thick (the maximum thickness they were able to get from a 2″ thick board) and ripped (cut along its length) to be 10″ deep. This is what each board looked like when I brought them home – isn’t the wood itself beautiful?!
2. Install Floating Shelf Brackets
I did a ton of searching and reading of reviews to figure out which shelf brackets would work best for our floating corner shelves and ended up going with the large size of {these heavy duty steel brackets} that support shelves from 7-12″ deep.
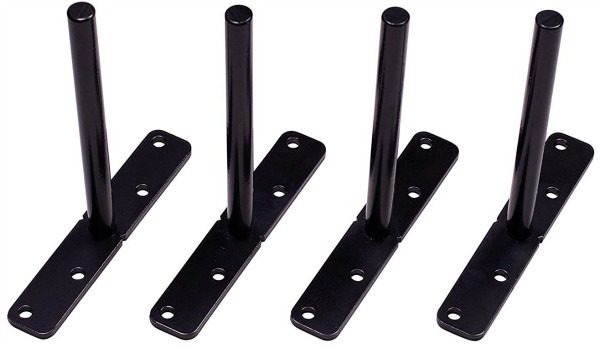
The brackets can be installed with the base in a vertical or horizontal position – my contractor installed them in the vertical position over studs to provide maximum stability. As far as the height that we placed the brackets, the bottom pair was positioned so that the bottom of the first shelf would line up with the bottom of my upper cabinet:
The top pair of brackets was placed exactly 15″ up from the bottom set since that’s the height I chose for my second shelf. To keep the base of the brackets from showing after installation of the shelves, my contractor traced the outline of them on the wall in the spots they were to be hung and notched out the drywall so that the brackets were slightly recessed once installed. This is what they looked like after installation (FYI, in case you’re wondering, the white shelf below was just a test shelf that I talk more about later):
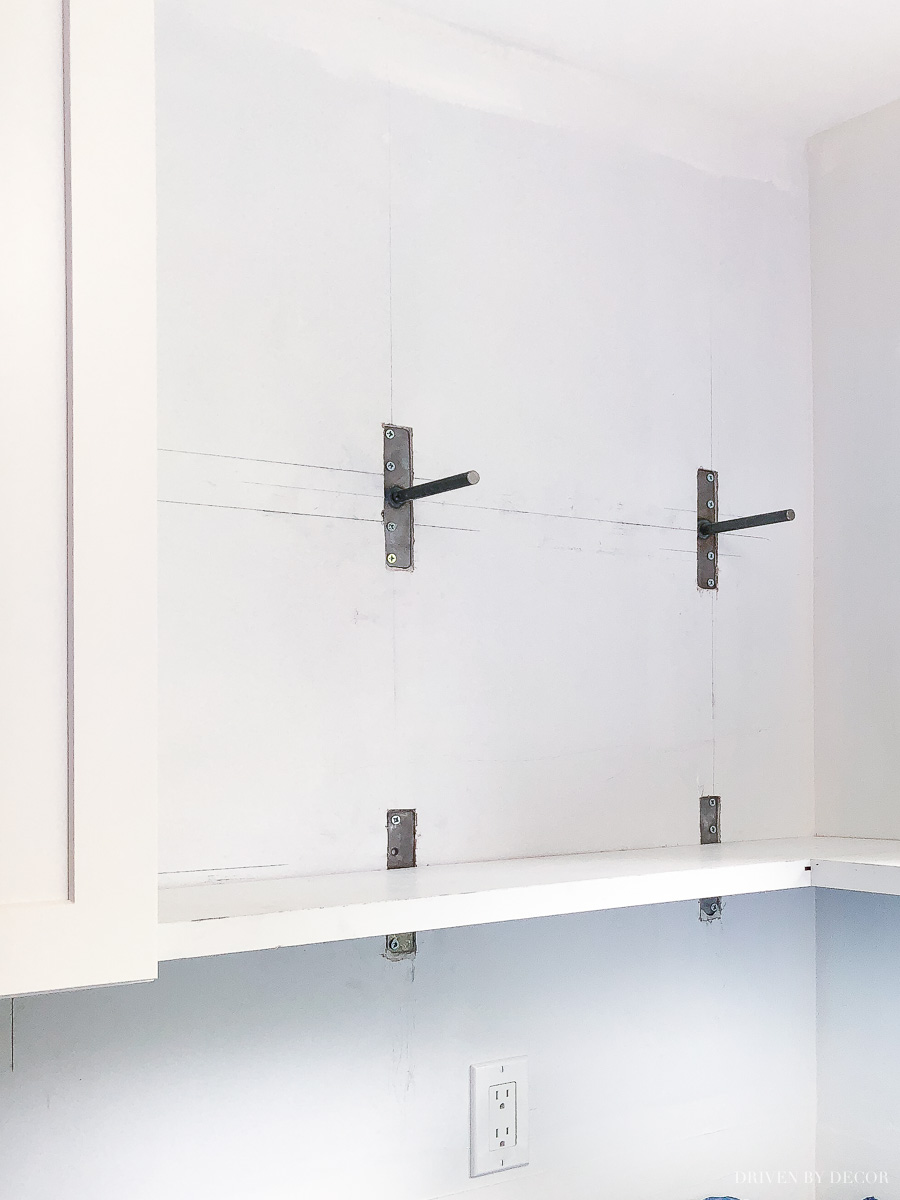
Note: you could also choose to hang the brackets so the base is horizontal instead of vertical (the brackets come with anchors for spots where they’re not going into studs) – then no wall prep is needed since the shelves will cover the base but you’d have to notch out the back of your wood shelves if you want them to sit flush on the wall.
3. Tile or Putty Over the Brackets
Once the brackets were in place, our wall was tiled. The four tiles that went over the brackets were notched out and then laid as usual (the notches were done horizontally so they will be hidden by the shelves):
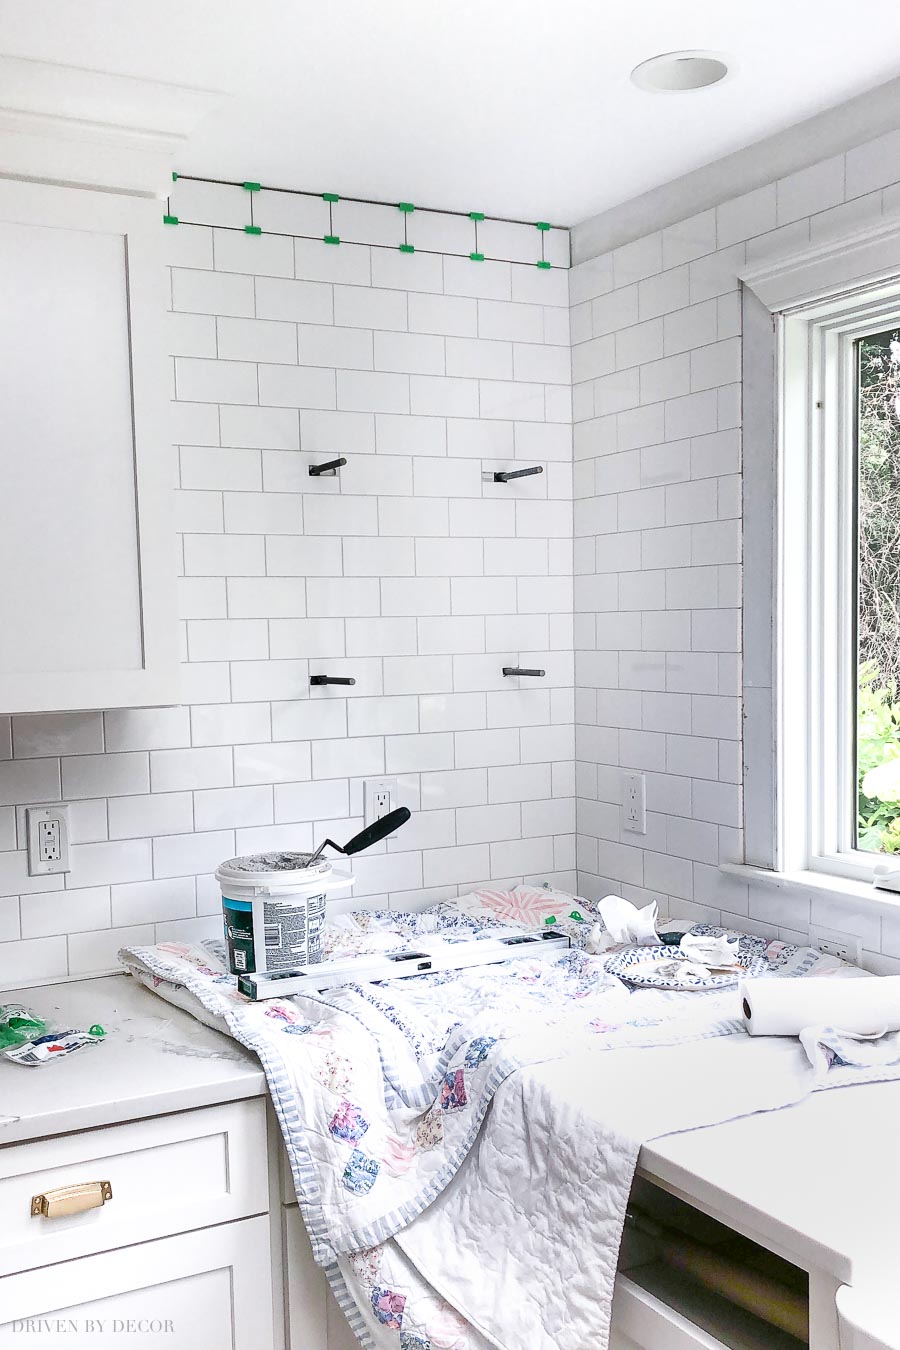
If the walls where your shelf will hang are going to be painted instead of tiled, informational blogs suggest spackling over the base of the bracket, sanding it smooth with the rest of the wall, and painting it the same color.
4. Join Two Oak Board Pieces to Create the “L” Shape
Now that my brackets were hung and the wall was tiled, it was time to create the corner shelf. Since the white oak wasn’t exactly cheap, my contractor built a test corner shelf with leftover construction lumber to make sure he had the sizing and hole placement correct and he then used that test shelf as a template for creating the white oak corner shelf.
Creating the corner shelf involved joining together one long length of white oak (in my case, a 36″ long piece that spanned from the end of the cabinet to the wall) with a shorter piece (mine was 9″) to create the “L” shape. In the area where the two oak board pieces were to be joined, two large holes were drilled in each piece that line up with one another – then wood dowels and wood glue were used to join the pieces together after which they were clamped until dry.
Unfortunately I didn’t take a pic of this step but you can get a good idea of the hole size and placement by looking at the test piece in the bottom right of the pic below that was used as a trial piece. Then two holes for hanging the shelves were drilled on the back of each shelf at a position where they would line up exactly with the stem of the floating shelf brackets. Since all of these holes need to be drilled at exactly 90 degrees for everything to be level, creating them with a drill press is the best way to go. Second best would be using a clamp and drill guide like {this one}.
5. Sand & Stain Your Corner Shelves
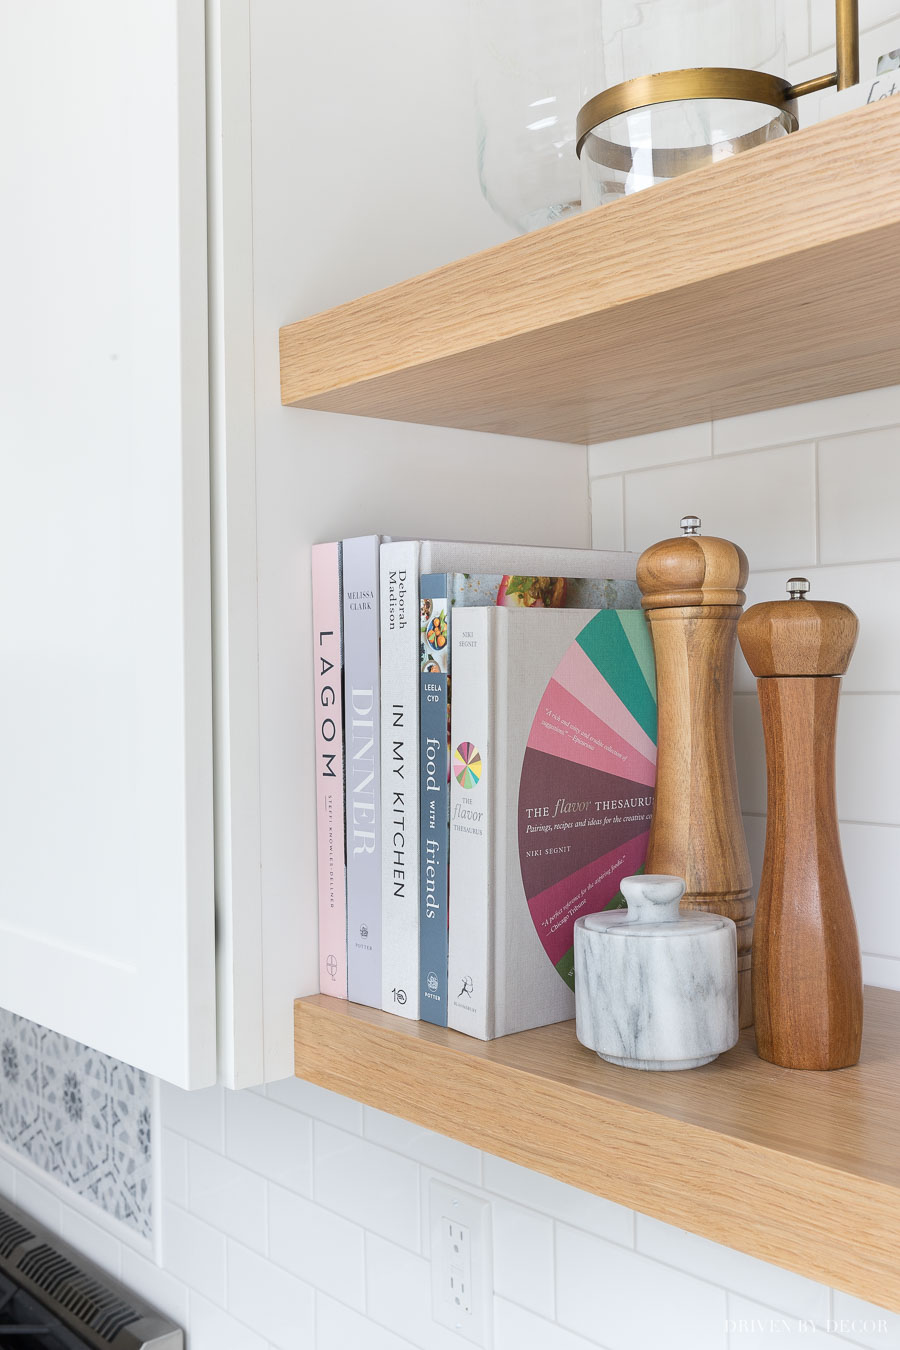
Once dry, the wood shelves were sanded so that the spot where the two pieces were joined together in the L shape was a totally smooth transition. If you want a completely natural look to your wood shelves, your next step would be to apply a few coats of a protective finish. I actually wanted mine to have a slightly gray washed look so I played around with different stain concoctions on some test pieces of white oak to create the exact stain I wanted.
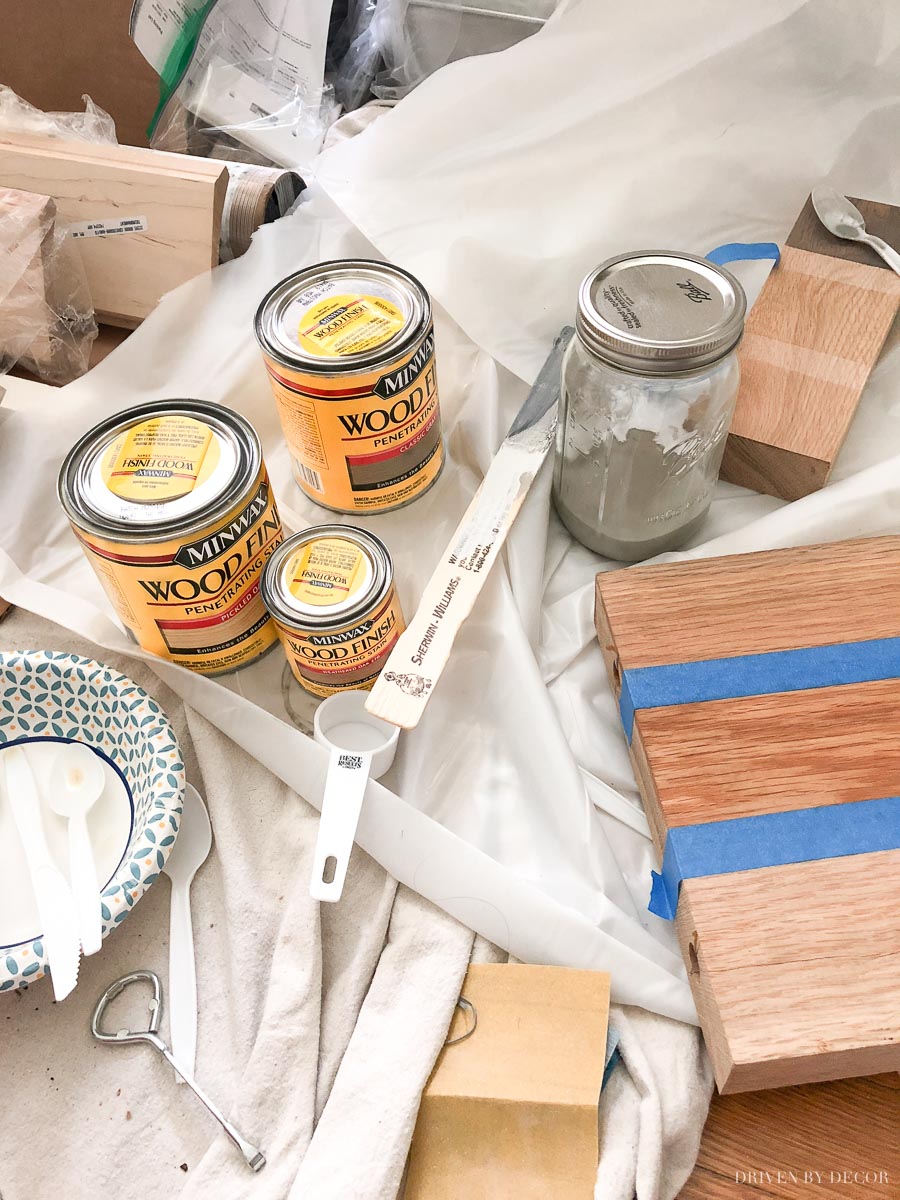
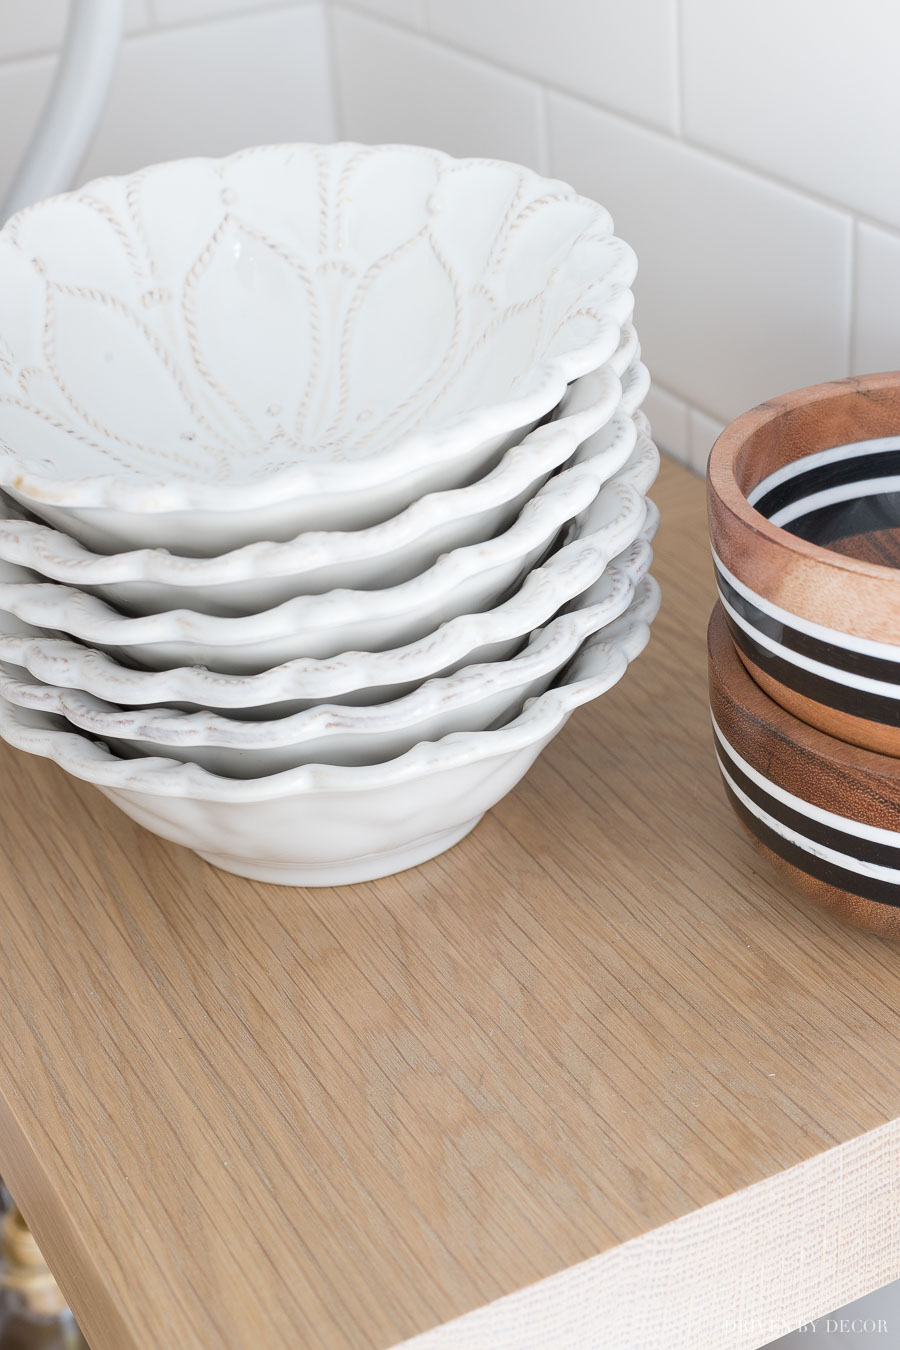
I wish I had a specific stain formula to share with you, but I kept adding a little more of this and that until I got it just right. What I can tell you is that it was a combination of Minwax Natural, Classic Gray, and Pickled Oak stains. After staining, I coated both sides and the front edge of both shelves with two coats of matte Polycrylic (available {here}), letting it dry well between coats. I love Polycrylic as a protective top coat because it doesn’t yellow like other top coats often do. Here’s a close up of what the final finish looks like:
6. Slide Your Shelf Onto Your Brackets & Secure It
Once my corner shelves were completely dry, they were installed by simply sliding them onto the brackets. Then for extra security and to keep my shelves 100% level, my contractor drilled an anchoring screw (shown on the right about ⅓ down in the pic below) through the inside of my upper cabinet into the middle of each shelf about 1 ½″ in from the front edge of the shelf


